Enemby's X1 Mods
A downloadable Easytheed X1 Mod
This is a collection for my Easythreed mods. This is also available on Thingiverse, but I personally dislike the company and find the support lacking, so I'm going to primarily upload here.
Why and What?
The Easythreed X1 is a low cost (as low as $50 if you get a good deal) 3D printer with a lot of potential. It's cobbled together as cheaply as possible, and suffers greatly in its utility and reliability. I really like it. I find the small size, ease of use, and general portability easier than my Tronxy-X1, which I have yet to finish building since it was so complicated and I had to print parts which were forgotten in the kit. Meanwhile, my EasyThreed takes all of 30 seconds to assemble, and modifications and repairs take minutes with pretty cheap replacements.
The X1 is also called the Sondory Pico, or Labists X1 depending on where you got it. Some people call it the X1 mini.. but I think that's just a rename for store listings and is basically made up.
What's included?
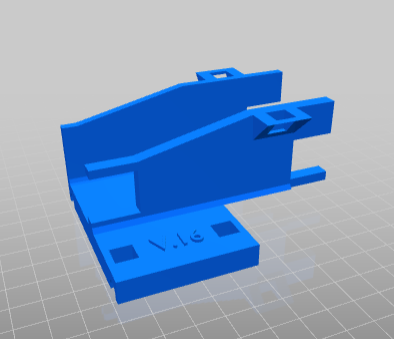
So far there's my custom control box mount, which takes the machine's theoretical portability and makes it actually portable. With the included 500g spool mount, this means that the machine can be picked up and carried while printing, and with some modifications, could even in theory be battery powered.
I also added a raised subframe, which has a few benefits but is mostly for greater portability.
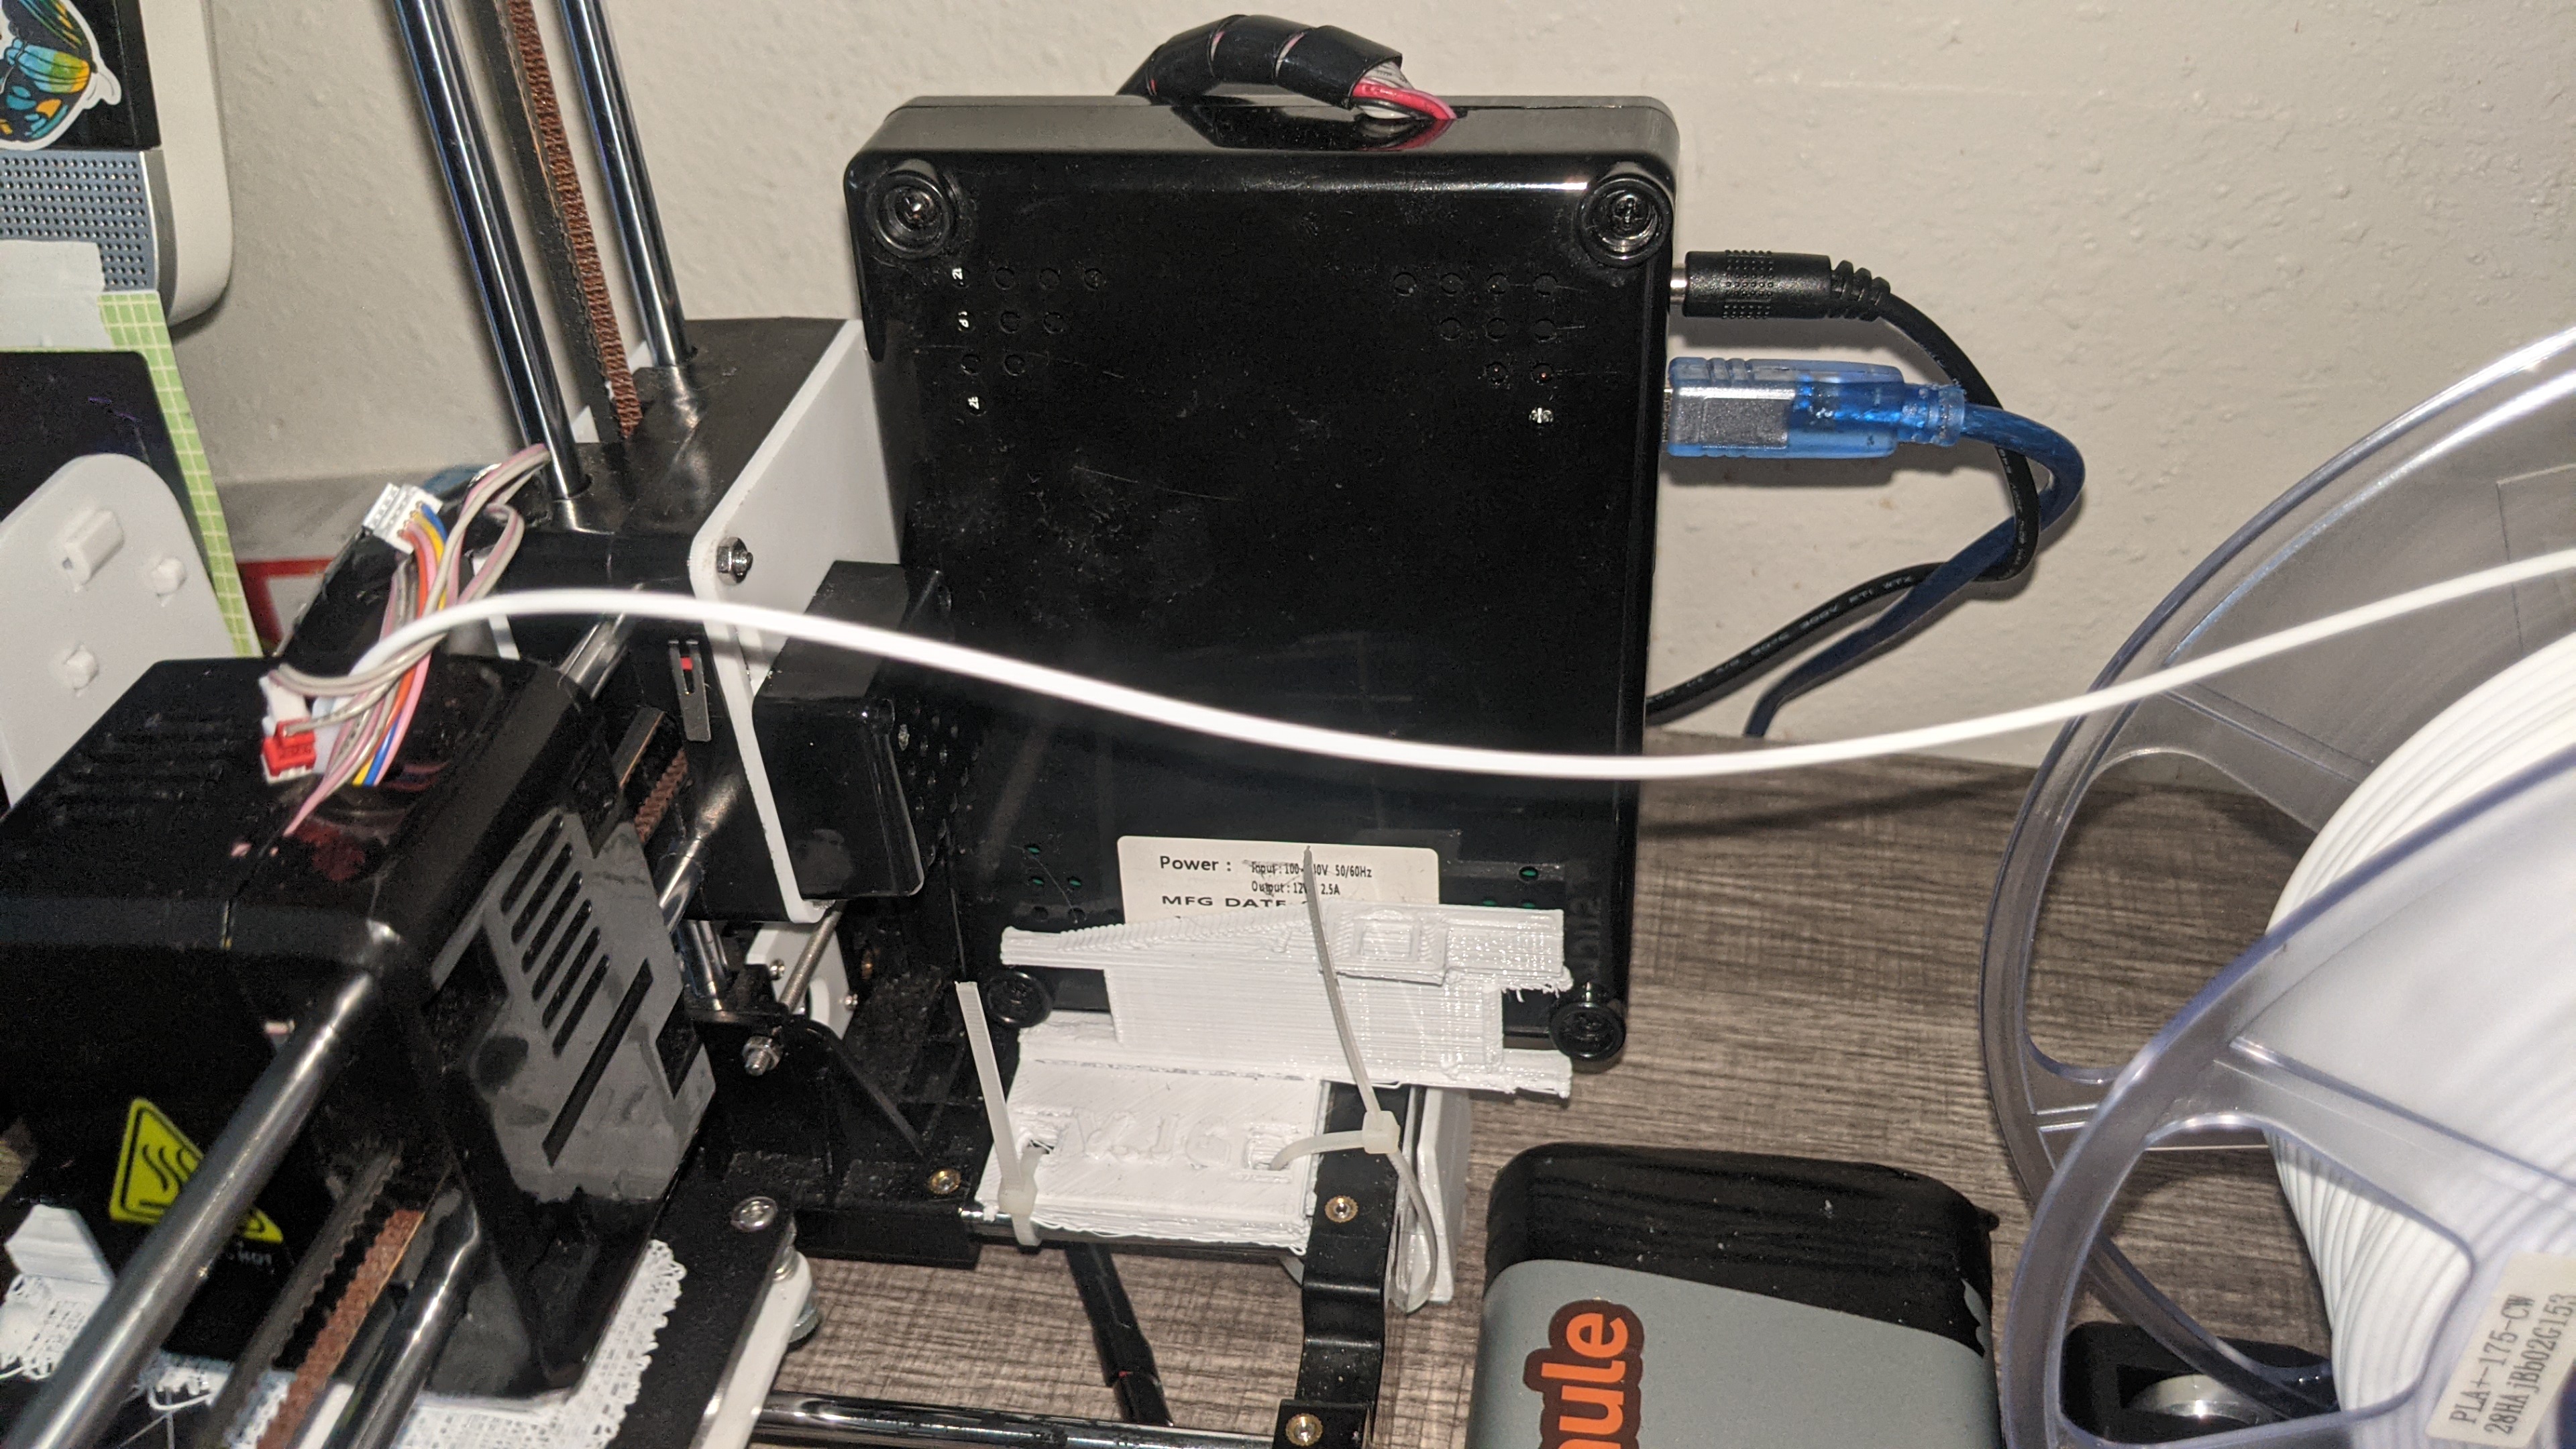
Control Box Mount Instructions
Download the stl and print. It should easily fit on your X1 print bed, though a raft and at least 25% infill is suggested. The cylindrical rod mounts can drift and move around while printing without a raft, which can cause all kinds of errors. Once you've printed, place the mount next to your Z axis arm, and zip tie it in place tightly with at least 2 zip ties. More zip ties is less wobble, and you can also zip tie around the side to ensure no movement of the control box.
X1 Risers and Subframe Guide
Also included is my design for a raised subframe for the X1, based on this design by Drexore. This mainly raises the machine up a few inches, which makes it easier to reach and calibrate the adjustable bed. I have large fingers, so this modification was necessary to avoid scraping my knuckles on the desk playing with this stuff. You can probably go without this part, it's just nice to have.
I wasn't happy with the original design, so I took care to modify these risers to connect together into a workable subframe, which besides adding extra rigidity to the printer, also makes it easier to carry around and will allow for minor storage under your bed.
Instructions
Download and print two copies of every file with the word 'join' in it. Using your printer as a reference, connect the risers together with the joiners, and once you've ensured it's the same size as your printer, put a dab of school glue on each join, and also between the holding tabs of each riser. You can then place your printer on top of the frame, and wait for the glue to dry. This won't function as a permanent frame, but keeps the risers attached so they don't wiggle off or fall while being carried or in use, which could happen to the original design.
If you're looking for a more permanent solution, connect the joiners, dab glue on each connection, and finally, secure each riser to the frame with a zip tie, which you can run through the hole in the center.
Future plans
I'm pretty happy with my modifications, I'd like to add a tool 'box' to the opposite arm of the control box, which will add to the stability of the included 'filament holder', allowing you to use kilogram spools (mostly), and make the machine even more portable, with stowed cables and related tools.
Download
Development log
- Subframe design complete, slight mod to Control BoxSep 12, 2021
Leave a comment
Log in with itch.io to leave a comment.